9.30.2012

Date Weekend & Homemade Funfetti Cupcakes!

The Husband and I usually run errands and such on weekends... This weekend though, we decided to just hang out at home and have a relaxing "date weekend". Our plan? Watch Willy Wonka & the Chocolate Factory, and Charlie & the Chocolate Factory. I refer to them as the original, and the new one, because I always get them confused. So in true Gilmore Girls fashion, we stocked up junk food. Because "you can't watch Willy Wonka without massive amounts of junk food." - Gilmore Girls
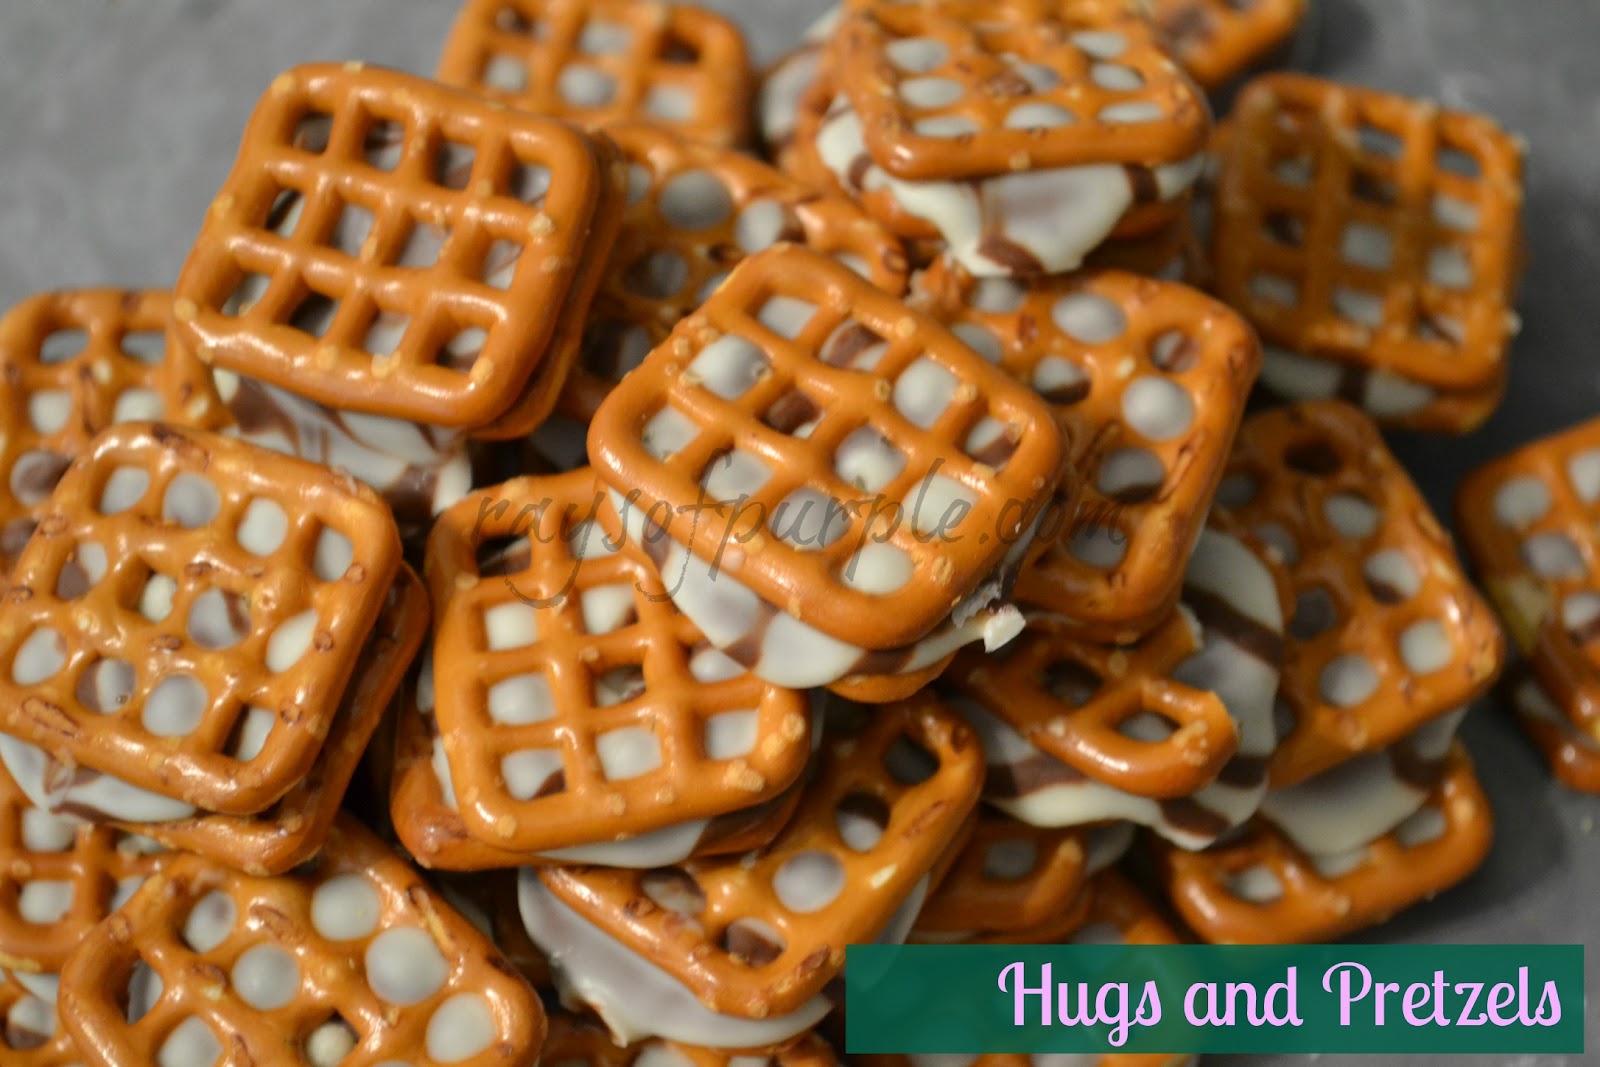
I promise we did not eat all of that.. not even half... but we felt better thinking we were getting into the true spirit of the movies :P We also ordered pizza, and made another batch of hugs and pretzels to go along with the madness. Ummm... I think this is The Husband's "stop taking pictures of me" face... Sorry Husband :P 
Anyway, we made it through the original, but then we got tired... so we went to bed and finished the new one this morning :)  After that, we made cupcakes, and turned on football. As of now, we are still hanging out and watching football, because we love it THAT much :P It's been a pretty great weekend, just about spending time together, and those are the best weekends! Here are our cupcakes:

Makes 12 - 14 cupcakes
You will need:
- 1 1/2 cups flour
- 1 teaspoon baking powder
- 1 stick (1/2 cup) butter
- 1 cup sugar
- 2 eggs
- 1 Tablespoon vanilla extract
- 1/3 cup milk
- 1/4 cup assorted sprinkles for cupcakes, 
plus more for sprinkling on frosting
(I messed up and only put about half as many sprinkles 
in as I was supposed to... oops! Next time right? ) 

Directions: 
1. Preheat oven to 350 degrees
2. Line cupcake pan with liners
3. Combine flour and baking powder in a bowl. Set aside.
4. Using a stand mixer or hand mixer, beat sugar and butter on medium-high speed for about 3 minutes.
5. Lower speed, and add eggs one at time. Scrape bowl as needed.
6. Add vanilla, and mix until everything is well combined.
7. Reduce mixer speed to low, and add half of the flour/baking powder mixture. Mix.
8. Pour in milk. Mix.
9. Add other half of flour/baking powder and mix until combined.
10. Fold in sprinkles with a spatula. 
I used an ice cream scoop, and my cupcakes were a little more full than 2/3.. But I was okay with that :P
Also, mine took all 18 minutes to bake, so make sure you bake until an inserted toothpick comes out clean.


I used this recipe for my frosting. And those sprinkles.. well they're supposed to be dolphins. At least that's what the sprinkles pack said.. I'm going to just take their word for it ;)


(text only)
Items needed:
- 1 1/2 cups flour
- 1 teaspoon baking powder
- 1 stick (1/2 cup) butter
- 1 cup sugar
- 2 eggs
- 1 Tablespoon vanilla extract
- 1/3 cup milk
- 1/4 cup assorted sprinkles for cupcakes, plus more for sprinkling on frosting

1. Preheat oven to 350 degrees
2. Line cupcake pan with liners
3. Combine flour and baking powder in a bowl. Set aside.
4. Using a stand mixer or hand mixer, beat sugar and butter on medium-high speed for about 3 minutes.
5. Lower speed, and add eggs one at time. Scrape bowl as needed.
6. Add vanilla, and mix until everything is well combined.
7. Reduce mixer speed to low, and add half of the flour/baking powder mixture. Mix.
8. Pour in milk. Mix.
9. Add other half of flour/baking powder and mix until combined.
10. Fold in sprinkles with a spatula. 
11. Fill cupcake liners about 2/3 full
12. Bake 15-18 minutes
13. Let cool in pan for 5 minutes
14. Transfer to wire rack to cool
15. Frost cupcakes and top with sprinkles

9.24.2012

DIY: Statement Necklace

You will need:
- Jade colored beads (I used two sizes)
- Red spacer beads (totally optional)
I got two of each size beads, and one of the red spacer beads.
- "Jewelry Findings" all purpose pack (whatever finish you choose)
- mono-filament jewelry stringing wire (looks like fishing wire)
- package of jewelry chain (whatever finish you choose)
- scissors
- needle nose pliers
- wire cutters (I was fine without these, but it will probably make your life easier)

All of these things cost me just under $30, I got everything at Michaels. The mono-filament wire was the most costly thing, but I used a 40% off coupon that I had.  

I like to put everything out in front of me, it's just easier for me. I didn't use "scissors" but I used precision cutters, same thing :P And the jump rings, clasp, and crimp beads are all apart of the jewelry findings pack. You can also buy these separately from each other, but it was easier for me just to get them in a combined pack :) 
18 inches is just an approximate measurement, it just depends on how long you want your necklace.


You really don't have to apply a lot of pressure to push the crimp bead. 


My first finished strand was about 14 inches. 

Repeat step 2 & 3 to close the strand.

 Note: you don't have to be exact with the measurement of the strands, being slightly different in length will help the necklace lay better :) 

After two strands.

After three strands. This part is now complete :)

Okay, now if you have wire cutters, use them. I didn't, so I just used my pliers to take out a link in the chain to separate the piece from the rest of the chain.

You'll be left with three inches, one for each side of the necklace.

I know it's kind of confusing, but I promise, just take a deep breath, and you'll be okay. 
I tried to help with this picture as much as I could, I hope it helps!

Your necklace is finished now! Yay :) It took me around an hour, stringing the beads is what took the longest. The finished necklace ended up being about 22 inches end to end. 

Now step back, and admire your work! :) 
I used what I had lying around the display my necklaces, a bulletin board and push pins will work for now ;)
Happy Monday everyone :) 

Inspiration: makingitlovely.com

9.23.2012

Sunday Social: 9/23

1. What is something you have wanted to do but are afraid of?
source: dosomething.org     
You may or may not know, but I am totally afraid of the ocean. I did complete #23 on bucket list, which was to jump into the ocean. I really don't know if I'll ever get past this fear. But I'm okay with that. By the way, that's Hayden Panettiere swimming with dolphins... Free diving actually. In the wild, which is where dolphins should be. Just thought I'd throw that out there. For more on that, click here

2. Where do you see yourself in 5 years?
I see myself working and saving money. With a few vacations in between :) I'd like to stay at home with our future children, so I will be working my butt off to get money in the bank so when that time comes, we will feel financially stable. That's the goal anyway!

3. What are you looking forward to before the end of 2012?
Exactly one month from yesterday, we'll be celebrating our one year. It's been the best year of our life so far.. I love you Husband :) 

4. What are your hopes for your blog?
I really hope to meet and interact with more people. I've met such great people so far :)

5. Do you always see yourself living in your current town/city?
Actually no, there are a lot of things I love about Arizona. As far as great schools though? Not so much. I also don't think I want to deal with these summers my whole life either. Once we are ready to adopt kiddos, we'll figure out more of where we think we'd like to go :)

6. What is your morning routine?
Well, since I am still between graduating college and finding a job, I am on full housewife alert at the moment :P My morning routine usually consists of waking up, reading new blog posts while The Husband gets ready, and getting him off to work. :)

9.21.2012

Hugs and Pretzels

Dear Husband, I really don't think you understand how much I appreciate your support in everything that I do. I love you with all of my heart, and thank you for now, and for forever. 
Dear Dad, thanks for always having my back. You are the greatest.
Dear new friends, I love each and every one of you. Thank you so much for following me and joining in my journey. I cannot believe how many new faces there are around here, you guys are the best. 
Dear hugs and pretzels, you are super yummy, and really easy to make. Thanks for being great :) (recipe and directions below)
You will need:
- 1 bag of hugs
- 1 (10 oz) bag of pretzel snaps
- cookie sheet
- wax paper (trust me, it will make your life way easier!)

This part took me the longest.. but if you have a little Mommy's helper around, this is a great opportunity for that :) 
If you don't have wax paper, use parchment.. use something. It will make it so much easier to clean up :)

About half way through this step, preheat your oven to 300 degrees. I say half way, because your oven will probably preheat before you finish laying all of these out :P 

The tutorial I followed says two minutes, I put mine in for 1:45 minutes, and I think that might have been too long. But they were okay :P The tutorial said to let them sit for a minute so they could soften some more, mine were already soft, so I just moved to the next step.

Do this gently, just so they stick together :)

You don't have to do this, but it cools them down a lot faster, and honestly, I think they taste better when they aren't all melty.. is that a word? Probably not, but I'm using it anyway ;)

Now all that's left is to pop these off the sheet of wax paper and enjoy!
Inspiration: Cookies and Cups
(text only)
Items needed:
- 1 bag of Hugs
- 1 bag of pretzels

1. Unwrap Hugs
2. Line cookie sheet with wax paper
3. Preheat oven to 300 degress
4. Lay down pretzels and top with Hugs
5. Place in oven for 2 minutes
6. Place another pretzel on top of Hugs
7. Place baking sheet in fridge for 20 minutes.

9.20.2012

I Believe In...

I believe in sunshine.  
I believe in purple.   
I believe in the power of joy hidden in dandelions. 
         
I believe in marriage. 
I believe in equality.
I believe in everything happening for a reason.
I believe in sweat pants and running shorts.
I believe in LOVE.
I believe in protecting our oceans.
I believe in saving our dolphins, whales, and sharks.
I believe in Sea Shepherd.
I believe in Captain Paul Watson. 

I believe in hugs.
I believe in my future children.
I believe in doing the right thing.
I believe in bringing yourself up, without tearing others down. 
I believe in trying to stay positive.
Most of all, 
I believe in our future.
And finding joy in our journey.
I love you, Husband. 
Together, the world is ours.

9.13.2012

Apple & Snickers "Salad"

Yesterday The Husband had a potluck at work. I've been waiting to try this recipe, so that's what we did :)
Now, I've seen this a few places on Pinterest, but most of them use cream cheese and powdered sugar, I really didn't find that necessary.. So I went with a simplified recipe :P 

You will need:
- 5-6 apples
- Bag of snickers, frozen (mini or fun size)
- 8 oz. container of cool whip 
(ours is 16 oz. because we made 2 batches)

**all photos are from the Husband's iphone at 5:30 am.. umm I was sleeping :P **

This is also when The Husband figured out a small baggie isn't big enough...
So learn from his mistakes and use the gallon size :P 

Add 8 oz. of cool whip, and mix everything together :) 
I know it looks a little weird, but it really is delicious!

Then we put it in Ziploc Tupperware so The Husband could take it to work :)  

Funny story time... When I woke up and went out to help him, he was in the process of trying to mix the ingredients in the Tupperware.. Let's just say it's good that I came out when I did. 
I mean c'mon husband, you need a big bowl to mix things in. He's lucky he's cute ;)

Everyone at The Husband's work loved it, and it was all gone! I'd say it was a hit :)
And it was so easy to make! Not to mention yummy!  

(text only)
Items needed:
- 5/6 apples 
- 1 bag of snickers, frozen
- 8 oz. container Cool Whip

1. Cut up apples into small pieces
2. Unwrap Snickers
3. Smash Snickers
4. Mix it all together
5. Chill and serve

9.10.2012

DIY: No Sew Felt Bow


If you've seen my No Sew Hair Bow post, this will seem familiar! I used the same process, I just used sheets of felt instead! It's a chunkier and more textured look, but I like it :) 

Supplies Needed:
- felt sheets
- hair clips (optional, if you want to make it a hair bow)
- hot glue gun
- scissors

I used a standard size sheet of felt, which is 9x12.  I placed the sheet horizontally, and then cut (horizontally) two inches off of the bottom. I just eyeballed the cut, so I was left with a sheet approximately 7"x12".
You can always play with the size if you want to go smaller :)
Here's what you're left with, and what you'll use to make the bow: 

With felt sheet still horizontal, fold top and bottom edges toward the center. 
Cut 2 inch piece off of the end and set aside for the middle part of the bow.

Because the material is felt, once I glued anything down, I held it down longer than I usually would.

Turn it upside down, and you'll end up with this:


Place a small dot on each side of the fold, then fold the fabric back on itself to create a fan fold. Pinch and hold to secure. 
Take the 2" piece we set aside earlier. Place it flat (like we did at the beginning). Then fold top and bottom edges toward center, and glue flaps down with hot glue. And you'll be left with a piece that looks like the photo above. 
Put a dot of hot glue on the top center part of the bow, take your small piece and wrap around the center part of the bow. Trip off the excess felt, and glue flaps down where it's needed. 

Then glue a hair clip to the back if you wish to make it a hair bow :) 

**I missed a few photos of certain steps, so for more tips on the last few steps, check out this tutorial** 

And in case I haven't told you how much I love my Husband... 
Here's another reason why... He'll do anything to make me laugh. 
So thanks Hubby :)